
I recently got to head out to Idyllwild, CA for a few days and was really excited to bring my sketchbook along and see what I'd be inspired to create! Idyllwild is a town nestled in the mountains and surrounded by trees so I knew there would be plenty of inspiration.

I ended up filling up 3 pages (some during and some after the trip) to document this visit and wanted to share them with you in case you'd like to try some of these ideas on your next outing!
I didn't really go in with a plan (and I kinda wish I did so that I could do more while I was there) but I think going forward these 3 will be my go-tos on future excursions!
What To Bring
I wanted to mention a few of my favorite supplies to bring along when creating away from/outside my home:
- Sketchbook with watercolor or multi-media paper (I like this one as well as Etcher and Stillman & Birn sketchbooks)
- Pencil pouch to stash all the supplies
- Watercolors, I love my Sakura Pocket Field Sketch Box! It's compact, has a variety of colors, and has lasted for years--I'm still using ti!
- Water Brushes
- Brush pens for lettering
- My favorite regular ink pen
- Pencil
- Eraser
- Sharpener
- Mini ruler
- Paper towel or small towel, in case I need to blot or make a mess :)
- Tote bag, I put all the above in one tote bag so I know where all my supplies are and they can live in one place
OK, on to the ideas!
3 Ways To Capture A Trip In Your Sketchbook
You can watch a short process video of all 3 ways on Instagram or Pinterest.
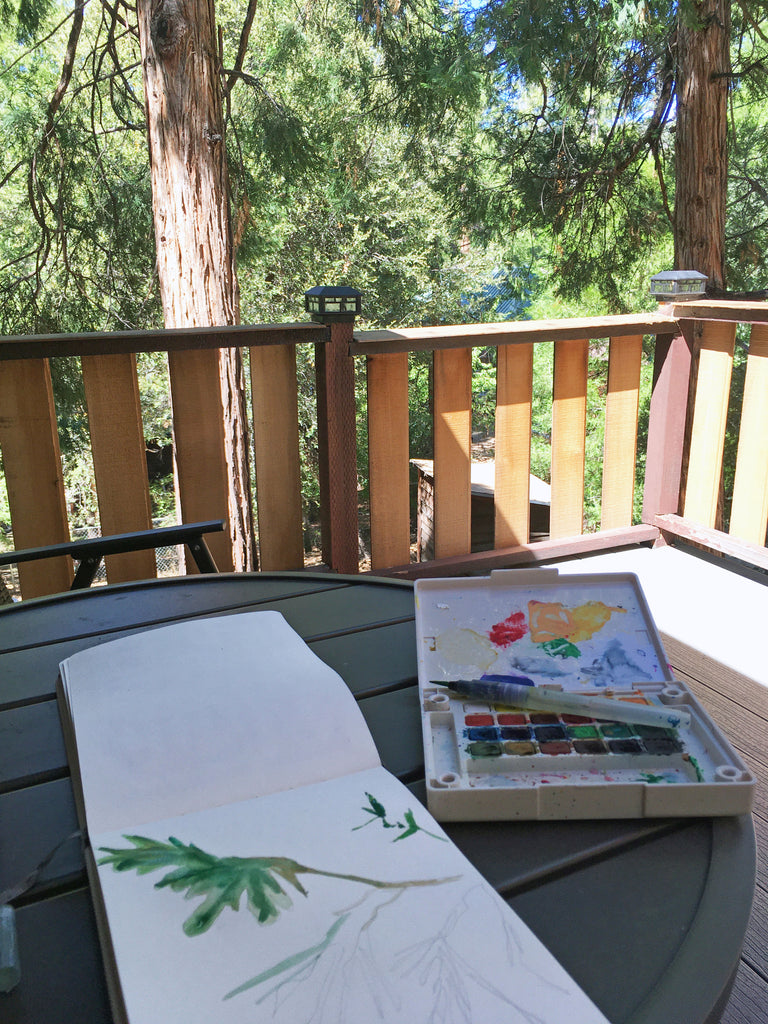
1) Shadow Tracing


This was the only thing I knew I FOR SURE wanted to do because I felt like there would be cool plants and trees to trace from! I've usually seen this done on objects found in nature but I feel like there are so many possibilities--basically anything that can cast a cool shadow and even things indoors!
This one is exactly as it sounds: place your sketchbook so that a shadow is cast onto your blank page. Trace around the shadows then fill in however you'd like. I also think it's a good idea to make a note with the location and date so when you're flipping through in the future, you'll know exactly where/when this was.
It was actually a little harder than I thought because of the timing/when I could get shadows from the things I wanted to trace from and it was a little breezy so the plants kept moving but I just tried my best and did it as quickly as possible! I settled on tracing from a little baby tree (I think it was a pine).
It was fun to make and I think the next time I try this, I want to layer more shadows and maybe try a more monochromatic color palette.
2) Field Journal


This page is inspired by field journals, a collection of sketches that include details and notes on what you observe.
At the cabin I saw these beautiful blue birds and grey squirrels with the bushiest tails! It wasn't until my last night there I decided to figure out what exactly they were, along with what types of trees were in the area (they were Steller's Jays and the Western Grey Squirrel :))
These 2 animals plus the huge pine trees were a big part of what I loved seeing there so I decided to do some sketches of them in a field journal style (although I should've added more notes!) I actually did this at home and modeled them after photos I found since I didn't think about doing this until I was leaving!
In the future I'd love to spend time out in the wild sketching, examining, and documenting!
3) Lettering
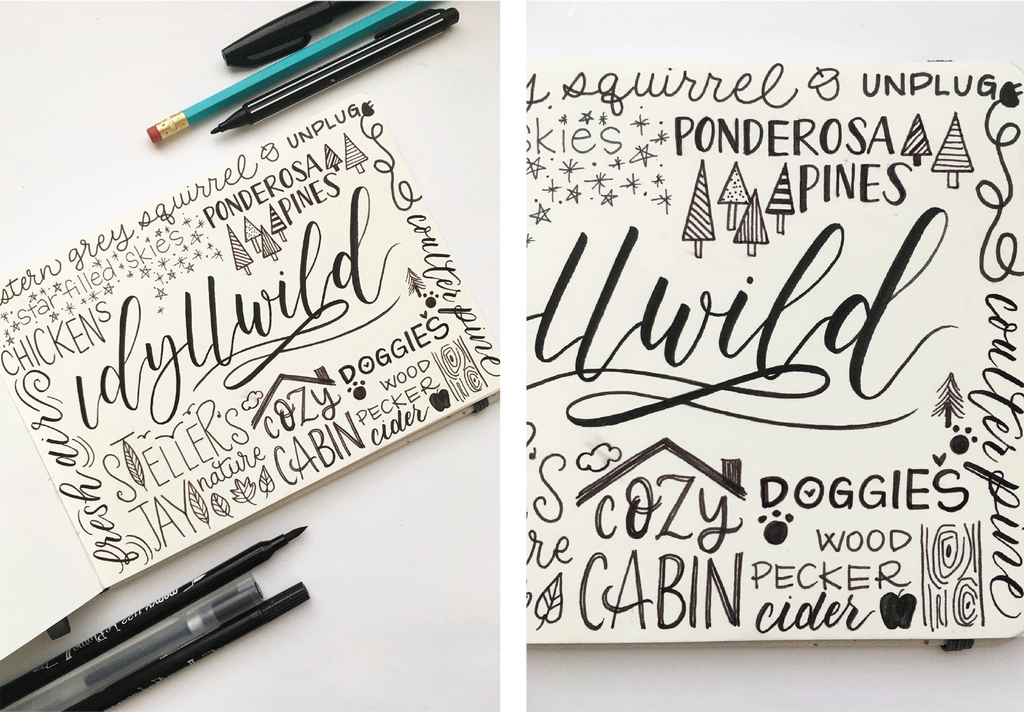

To sum up everything, I decided to do some lettering so I could include more elements of the trip. I believe I learned this type of layout from Lauren Hom several years ago but it's still one of my favorites!
- Start off by lettering the main word in the center of the page.
- In pencil, create an outline around the main word so that there will be a blank margin all around. Make sure the margin is about the same width all the way around.
- Continuing in pencil, start sectioning off the blank areas around your main word. Fill them in using different fonts and include little doodles if you'd like.
- After everything has been penciled in, go over it in ink.
- LET IT DRY COMPLETELY! Then erase the pencil lines.
I have been brush lettering for many years but if script/calligraphy isn't your thing, that's OK! You can try this with your own print and cursive handwriting and mix it up with different fonts using different sized pens and markers, lowercase and uppercase, etc. Have fun with it!
I hope you like these ideas and it helps spark some creativity on your next staycation or trip!

